Transform Your Yard This Spring: A Data-Driven Guide to DIY Landscaping That Sells (Or Just Thrills)
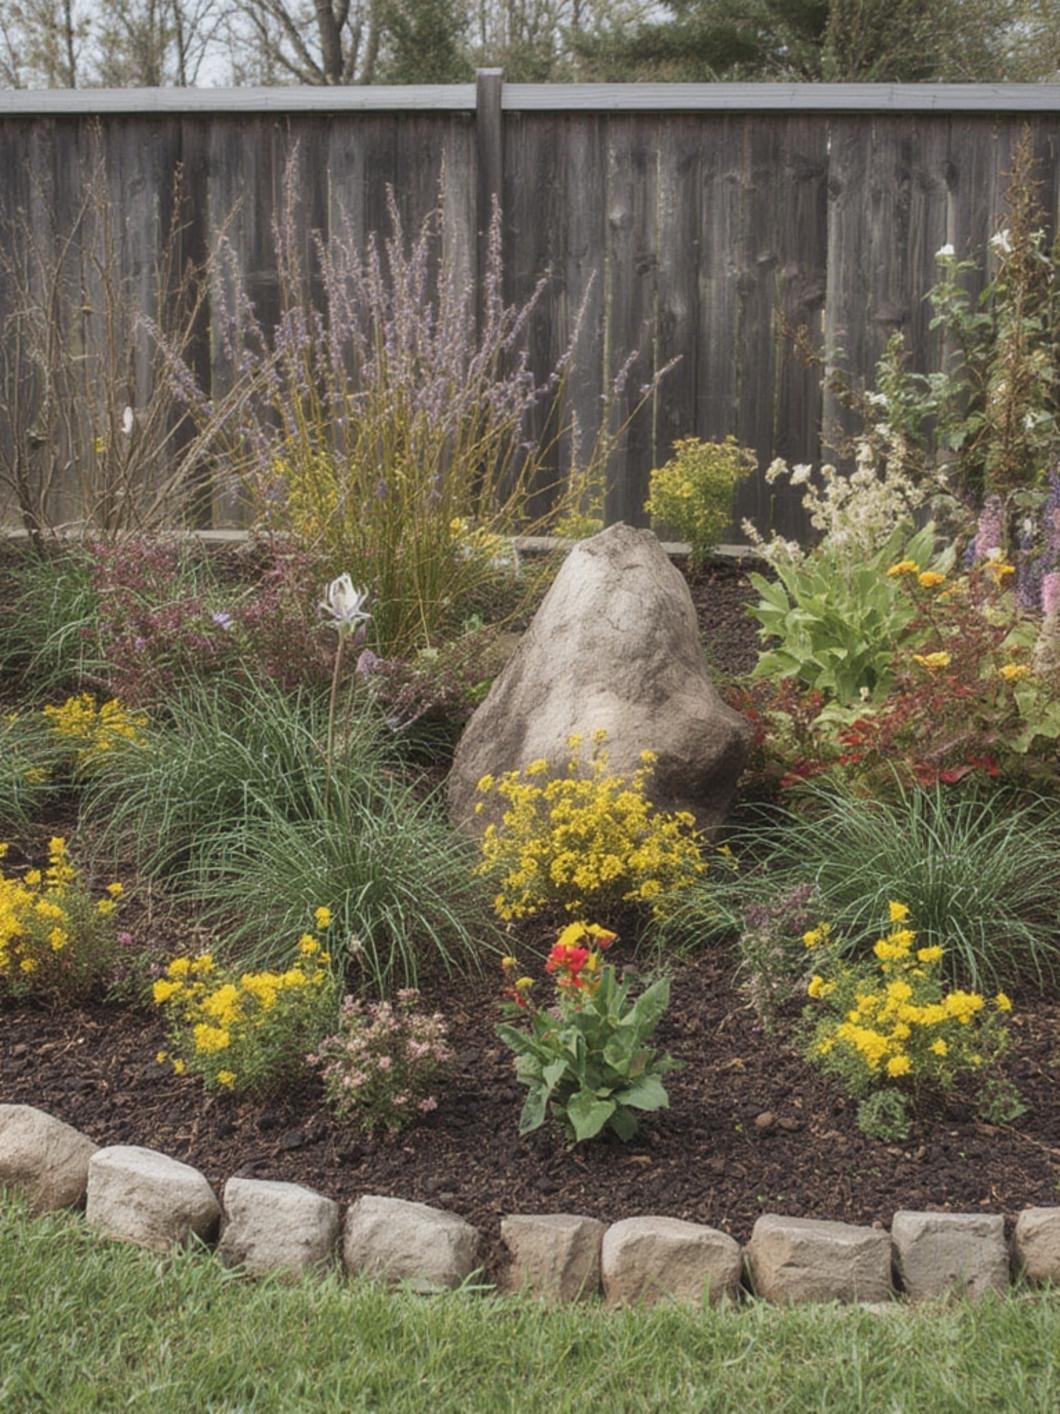
Is your outdoor space looking tired after winter? What if you could boost your home’s curb appeal by up to 20% without a professional contractor? The answer lies in a strategic spring refresh. This isn’t just about planting a few flowers; it’s about thoughtful design, seasonal timing, and leveraging smart resources. When executed well, a DIY Spring Landscaping with Lowes project can deliver a remarkable return on investment, both aesthetically and financially. This guide cuts through the guesswork, providing a structured, evidence-based plan to create a stunning, low-maintenance yard. We’ll focus on achievable projects, optimal schedules, and how to source materials wisely, including essential insights for Lowes spring planting strategies.
—Materials & Supplies (H2)
Success begins with the right tools. Here’s your comprehensive, categorized checklist:
- Essential Tools: Garden fork, pointed shovel, rake (leaf & bow), pruners, hoe, wheelbarrow, garden hose with spray nozzle, measuring tape, landscape fabric, staple gun, and a durable pair of gardening gloves.
- Soil & Bed Prep: High-quality topsoil (calculate 1-2 inches over your bed area), compost or well-rotted manure (for amendment), mulch (shredded bark or pine straw, 2-3 inch layer), and pre-emergent herbicide (optional for weed control).
- Plants & Flora: Select based on your USDA Hardiness Zone. Core staples: 5-7 perennial shrubs (e.g., hydrangea, boxwood for structure), 10-15 perennial flowers (e.g., daylilies, coneflowers for pollinators), and 20-30 seasonal annuals (e.g., petunias, marigolds for instant color). Pro Tip: Buy the largest healthy plants you can afford; they establish faster and provide immediate impact.
- Edging & Hardscape: Plastic or metal landscape edging (to define beds), and optional stepping stones or pea gravel for paths.
- Optional Enhancements: Soaker hose or drip irrigation system for efficient watering, and slow-release fertilizer (balanced 10-10-10).DIY Spring Landscaping with Lowes
Budget-Saving Alternative: Start with fewer perennials and more annuals in year one. Use seeds for fill-in areas (like zinnias or cosmos). Check for plant “pack” deals at garden centers for better value.
Timing / Growing Schedule (H2)
Proper timing is non-negotiable in spring gardening. Rushing or delaying can mean the difference between thriving plants and a wasted effort. DIY Spring Landscaping with Lowes
- Prep Phase (Late March – Early April): Once the ground is workable (not frozen, not muddy), clear debris, define beds, amend soil with compost, and lay landscape fabric. This 1-2 week window is critical for soil health. DIY Spring Landscaping with Lowes
Planting Phase (Mid-April – Mid-May): Target the soil temperature, not just the calendar. For most zones, when soil temps consistently hit 50-60°F (use a soil thermometer), it’s safe for most perennials and cool-season annuals (pansies). Lowes spring planting inventories are typically at their peak in late April. Warm-season annuals like impatiens wait until after* your last frost date.
- Establishment & Growth (Late May – June): Focus on consistent, deep watering (1 inch per week). Plants will focus on root development. Minimal visible top growth is normal. By July, expect 50-70% of your full-season size.DIY Spring Landscaping with Lowes
- First Frost (Fall): Your spring-planted perennials will now be established and better equipped to survive their first winter.
Step-by-Step Instructions (H2)
Follow this project management approach for flawless execution:
1. Design & Mark: Sketch your bed layout. Use a garden hose to trace curves on the lawn. Step back frequently. Aim for sweeping curves, not wiggly lines.
2. Edge & Remove Turf: Install landscape edging 4-6 inches deep. Use a flat shovel to slice and remove existing sod within the bed. DIY Spring Landscaping with Lowes
3. Soil Preparation: Loosen native soil to 12 inches deep. Mix in a 3-4 inch layer of compost and topsoil. Rake smooth. This single step prevents 80% of future plant failure.
4. Plant Placement: Arrange plants while still in their pots. Follow the “spooning” technique: taller plants in back/center, mounding plants in mid, and low-spreading/edging plants in front. For groupings, use odd numbers (3,5,7) for a natural look.
5. Planting Technique: Dig a hole twice as wide but same depth as the pot. Gently remove plant, tease circling roots. Place in hole so soil line matches original pot level. Backfill, tamp lightly, and water deeply immediately.
6. Mulch & Water: Apply 2-3 inches of mulch, keeping it away from plant stems. Water thoroughly with a gentle shower to settle soil. Initiate a regular watering schedule based on precipitation.
Nutritional Benefits / Advantages (H2)
A well-planned spring landscape is a powerhouse of ecological benefits: DIY Spring Landscaping with Lowes
- Pollinator Habitat: Native perennials and flowering annuals provide critical nectar and pollen for bees, butterflies, and hummingbirds, directly supporting local food systems.
- Soil Health & Stormwater Management: Deep-rooted plants and amended soil dramatically increase water infiltration, reducing runoff and erosion. Compost-amended soil acts as a carbon sink.
- Microclimate Regulation: Strategically placed shrubs and trees can reduce summer HVAC costs by providing shade and windbreaks. DIY Spring Landscaping with Lowes
- Mental Well-being: Gardening is proven to reduce stress, lower blood pressure, and increase physical activity. The visual progress provides a tangible sense of accomplishment and seasonal joy.
Tips, Alternative Methods, or Gardening Advice (H2)
- For Small Spaces/Urban Gardens: Maximize impact with container gardening on patios and balconies. Use large, unified pots (3+ gallons) with a thriller (tall center), filler (mid-size), and spiller (trailing) plant combination.
- Raised Beds: Ideal for poor native soil, poor drainage, or for gardeners with mobility challenges. Build with durable, untreated wood or stone. Fill with a 60/40 mix of topsoil and compost.
- Organic Methods: Skip synthetic fertilizers. Use compost tea for feeding. Handpick pests. Introduce beneficial insects like ladybugs. Use corn gluten meal as a natural pre-emergent.
- Climate Adaptation: In hot, dry zones ( Zones 8-10), prioritize drought-tolerant natives like lavender, salvia, and yarrow. In cooler zones (3-5), focus on late spring planting and cold-hardy varieties. DIY Spring Landscaping with Lowes
Common Mistakes to Avoid (H2)

1. Planting Too Early: Frost kills tender annuals and sets back perennials. Wait for your last average frost date. DIY Spring Landscaping with Lowes
2. Overcrowding: Plants need room for air circulation (prevents disease) and root expansion. Check mature widths on plant tags and space accordingly.
3. Poor Watering: Light, daily sprinkling promotes shallow roots. Water deeply and less frequently to encourage drought resilience. Mistake: Watering at night on foliage, which invites fungus. Solution: Water early morning at the soil level.
4. Ignoring Soil: Planting in compacted, clay-heavy, or nutrient-poor soil is the #1 cause of failure. Amending soil is non-negotiable.
5. No Maintenance Plan: Weeds compete aggressively in spring. Mulch is your first defense, followed by weekly weeding for the first 8 weeks.
Storage / Maintenance Tips (H2)
- Tool Care: Clean all tools with a stiff brush and olive oil or WD-40 to prevent rust. Sharpen pruner and shovel blades. Store in a dry shed.
- Seasonal Maintenance Calendar: DIY Spring Landscaping with Lowes
* Weekly: Check soil moisture, deadhead spent annuals, pull weeds.
* Monthly: Apply fertilizer according to package (usually monthly through July).
* Fall: Cut back perennial foliage after frost, apply a final layer of mulch for winter protection (after ground freezes).
- Plant Division: Every 3-4 years, divide overgrown perennials like hostas or daylilies in early spring or fall to rejuvenate them and multiply your garden for free.
Conclusion (H2)
A successful DIY Spring Landscaping with Lowes is a blend of science, timing, and design. By preparing your soil, selecting the right plants for your zone, and committing to consistent care in the first critical season, you build a foundation for years of beauty and ecological benefit. The journey—from planning and a trip for Lowes spring planting supplies to the first bloom—is where the real satisfaction lies. Start small if you’re new, but start with intention. Your future self, sipping coffee amidst a thriving garden, will thank you. Ready to begin? Open your garden planning app, check your last frost date, and visit Lowes this weekend for the best plant selection.
FAQs (H2)
Q1: I Have Clay Soil. Can I Still Do a DIY Spring Landscaping Project?
Absolutely. The solution is intensive amendment. Dig beds at least 12 inches deep and mix in 4-6 inches of compost and coarse sand (not play sand). Raised beds are an even easier fix.
Q2: What Are the Most Foolproof Plants for a Beginner?
For sun: Daylilies, Hosta (for shade), Sedum ‘Autumn Joy’, and Shasta Daisies. For instant color: Petunias and Marigolds (plant after frost). These are tolerant, resilient, and show quick results.
Q3: How Much Will a Professional-Looking DIY Landscape Cost?
A modest 150 sq ft bed can cost $300-$600 depending on plant size. Key: Invest in soil prep and better plants. Spend less on annuals the first year. Use mulch to suppress weeds and save future labor.
Q4: My Pets Eat Plants. What’s Safe?
Avoid lilies, azaleas, sago palm, and tulip bulbs (highly toxic). Safe, pet-friendly options include: Catnip, Spider Plant (for containers), Rosemary, Snapdragons, and Fennel. Always check the ASPCA toxic plant list first. DIY Spring Landscaping with Lowes
Q5: Can I Reuse Last Year’s Potting Soil?
Yes, but you must revitalize it. Remove all old roots and debris. Mix in 50% new potting soil and a handful of slow-release fertilizer. It’s not suitable for edible crops without this treatment, but fine for annual flowers.